> ## Documentation Index
> Fetch the complete documentation index at: https://fillout-005a867b-dependabot-npm-and-yarn-form-data-4-0-6.mintlify.site/llms.txt
> Use this file to discover all available pages before exploring further.
# Connect your form to Zendesk
> Create new tickets associated with new leads/contacts from a Fillout form, directly in Zendesk.
## What is Zendesk?
[Zendesk](https://www.zendesk.com/) is a customer service software company that provides a cloud-based customer support platform. This platform enables businesses to manage customer interactions across phone, chat, email, social media, and any other channel you can imagine, all in one place.
## How it works
Open the form you want to `Integrate` with `Zendesk`.
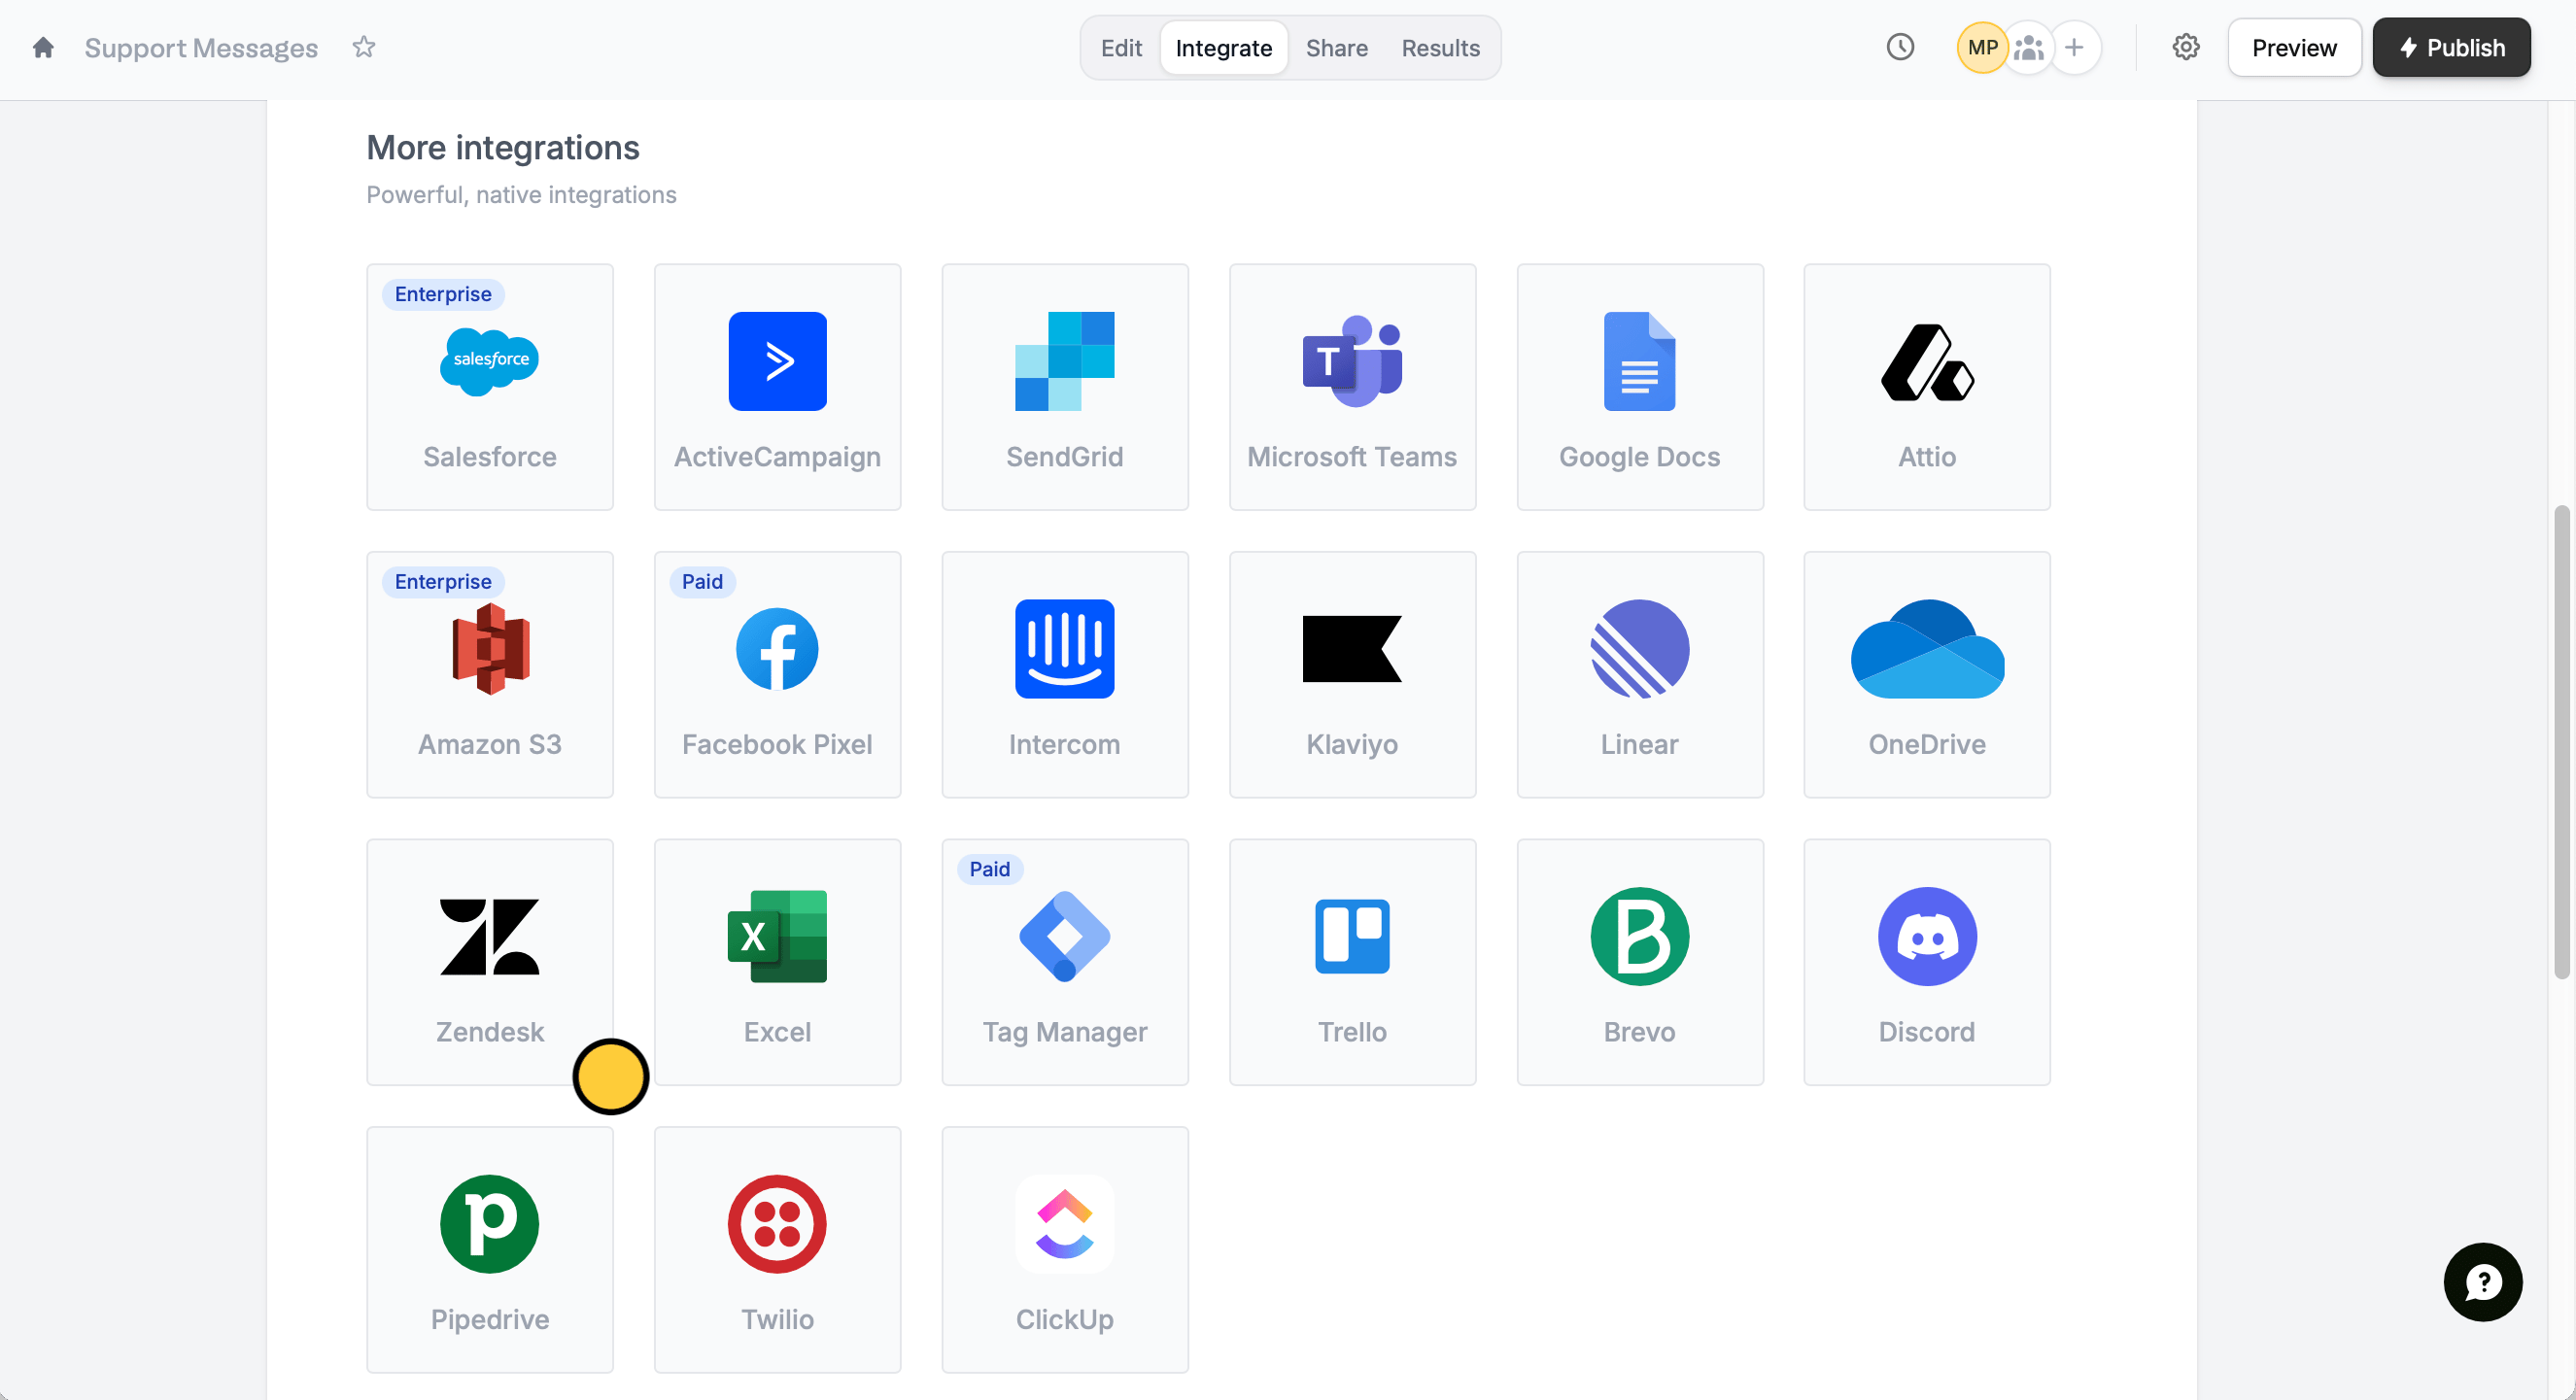 Then, enter your **Zendesk** subdomain. More details on how to find your subdomain [here](https://support.zendesk.com/hc/en-us/articles/4409381383578-Where-can-I-find-my-Zendesk-subdomain-).
[Match the fields](https://www.fillout.com/help/additional-integration-mappings#how-to-map-fields-manually) in your Fillout form to the corresponding fields in Zendesk for the new message. Make sure to include the contact's **email**, **name**, **subject**, and the **ticket description**.
Then, enter your **Zendesk** subdomain. More details on how to find your subdomain [here](https://support.zendesk.com/hc/en-us/articles/4409381383578-Where-can-I-find-my-Zendesk-subdomain-).
[Match the fields](https://www.fillout.com/help/additional-integration-mappings#how-to-map-fields-manually) in your Fillout form to the corresponding fields in Zendesk for the new message. Make sure to include the contact's **email**, **name**, **subject**, and the **ticket description**.
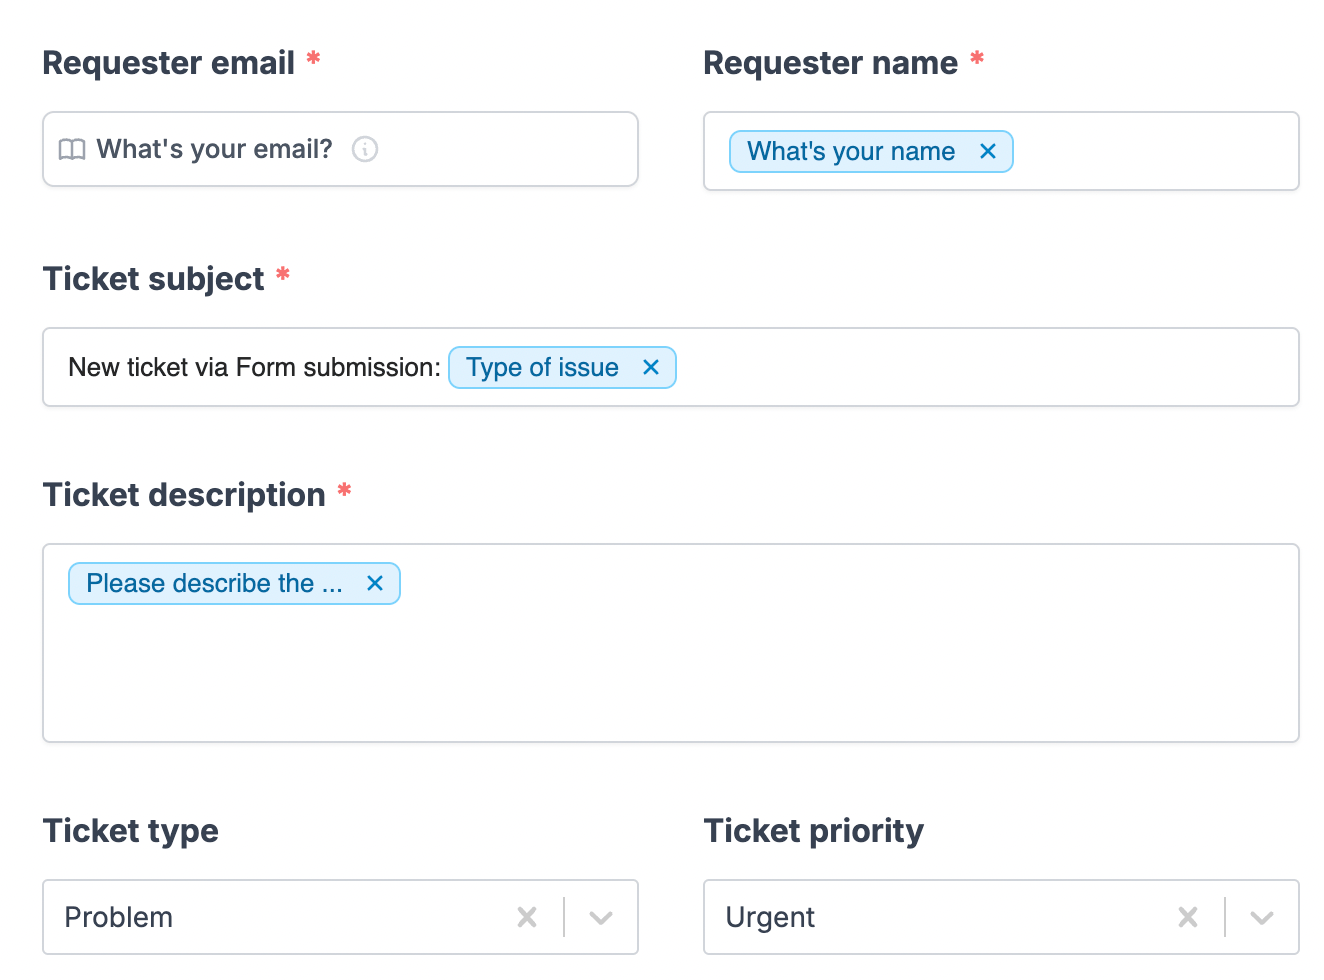 Once everything is set, click `Finish setup` on the upper right corner followed by `Publish`.
New form submissions will now create tickets directly in your Zendesk!
## Specify a condition
You can run your integration only when a specific condition is met. Check out this [guide](/conditional-integration).
## Related articles
Perform an integration only when a certain condition is met.
Add and update contacts with a form.
Create new tickets and leads from a form.
Once everything is set, click `Finish setup` on the upper right corner followed by `Publish`.
New form submissions will now create tickets directly in your Zendesk!
## Specify a condition
You can run your integration only when a specific condition is met. Check out this [guide](/conditional-integration).
## Related articles
Perform an integration only when a certain condition is met.
Add and update contacts with a form.
Create new tickets and leads from a form.