> ## Documentation Index
> Fetch the complete documentation index at: https://fillout-005a867b-dependabot-npm-and-yarn-form-data-4-0-6.mintlify.site/llms.txt
> Use this file to discover all available pages before exploring further.
# Update existing Salesforce records with a form
> Make a form that lets users edits existing records from Salesforce, and pre-fills fields with data from the record.
## How it works
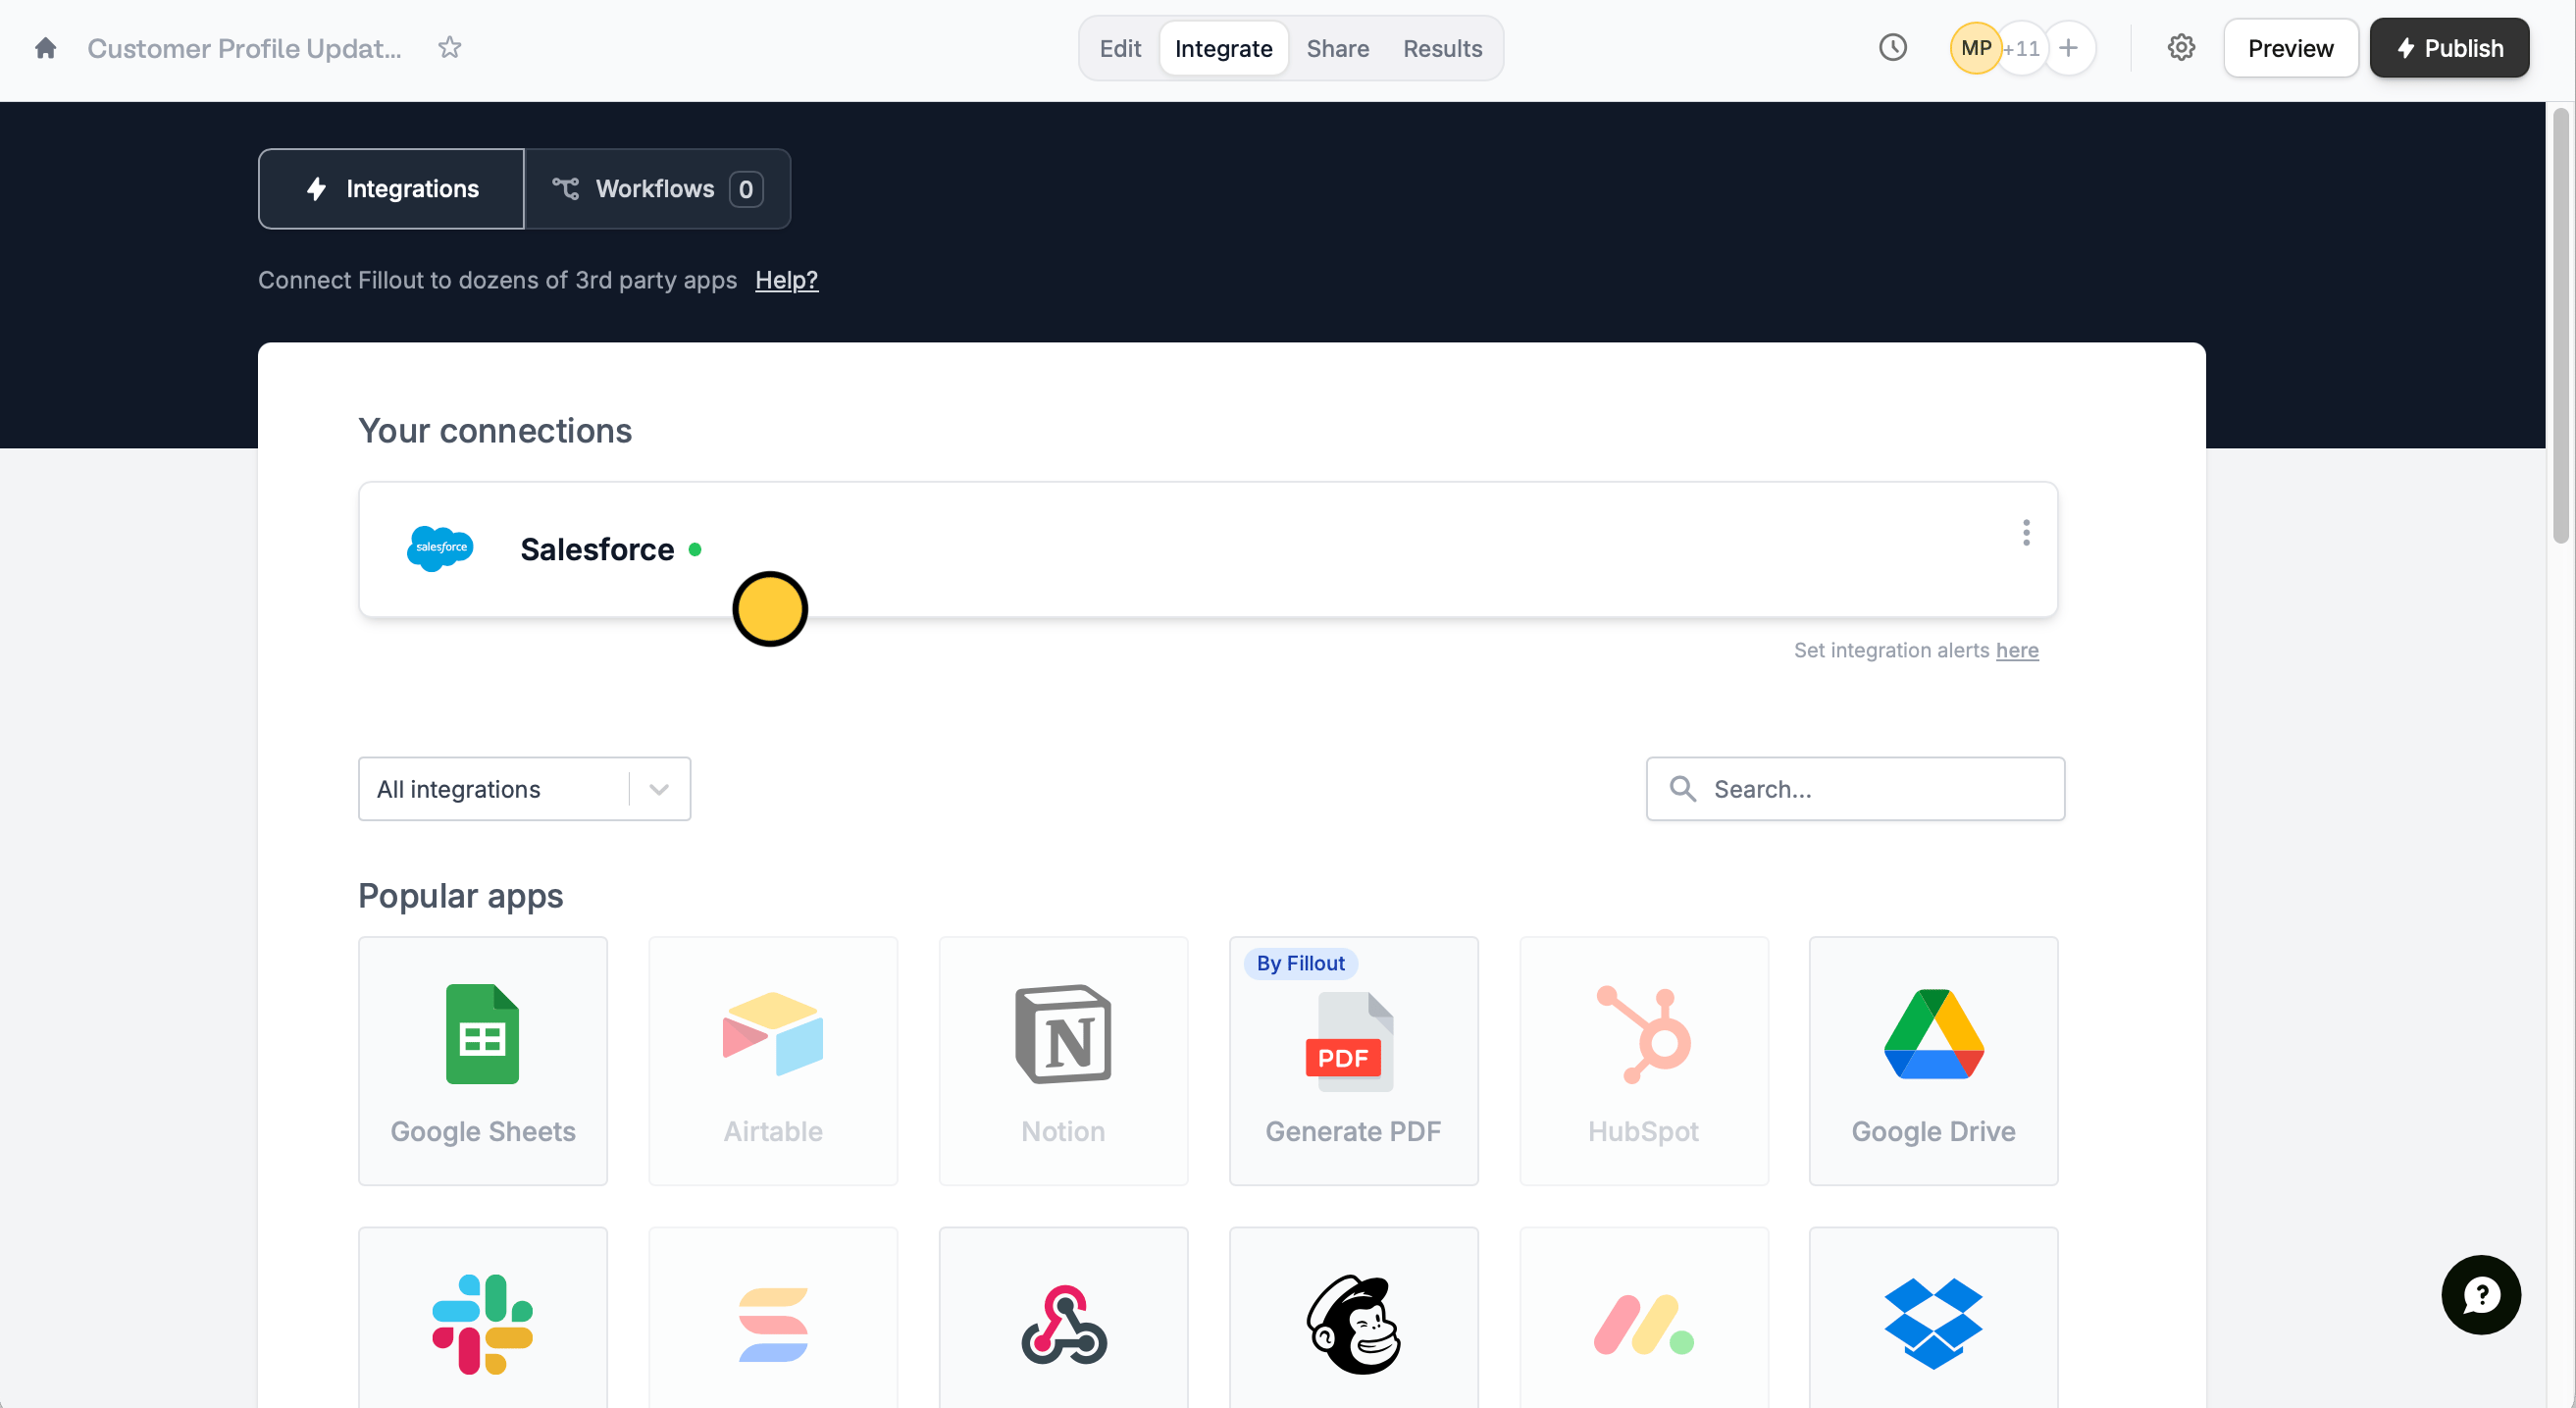
Open your [Salesforce-connected form](https://www.fillout.com/help/salesforce) and navigate to the `Integrate` tab and select `Salesforce`.
 Then, click `Update record`.
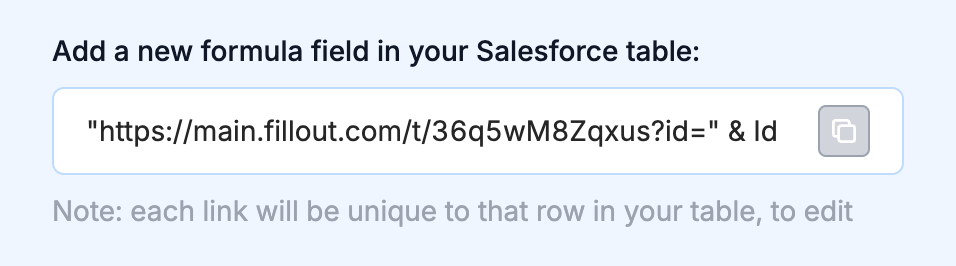
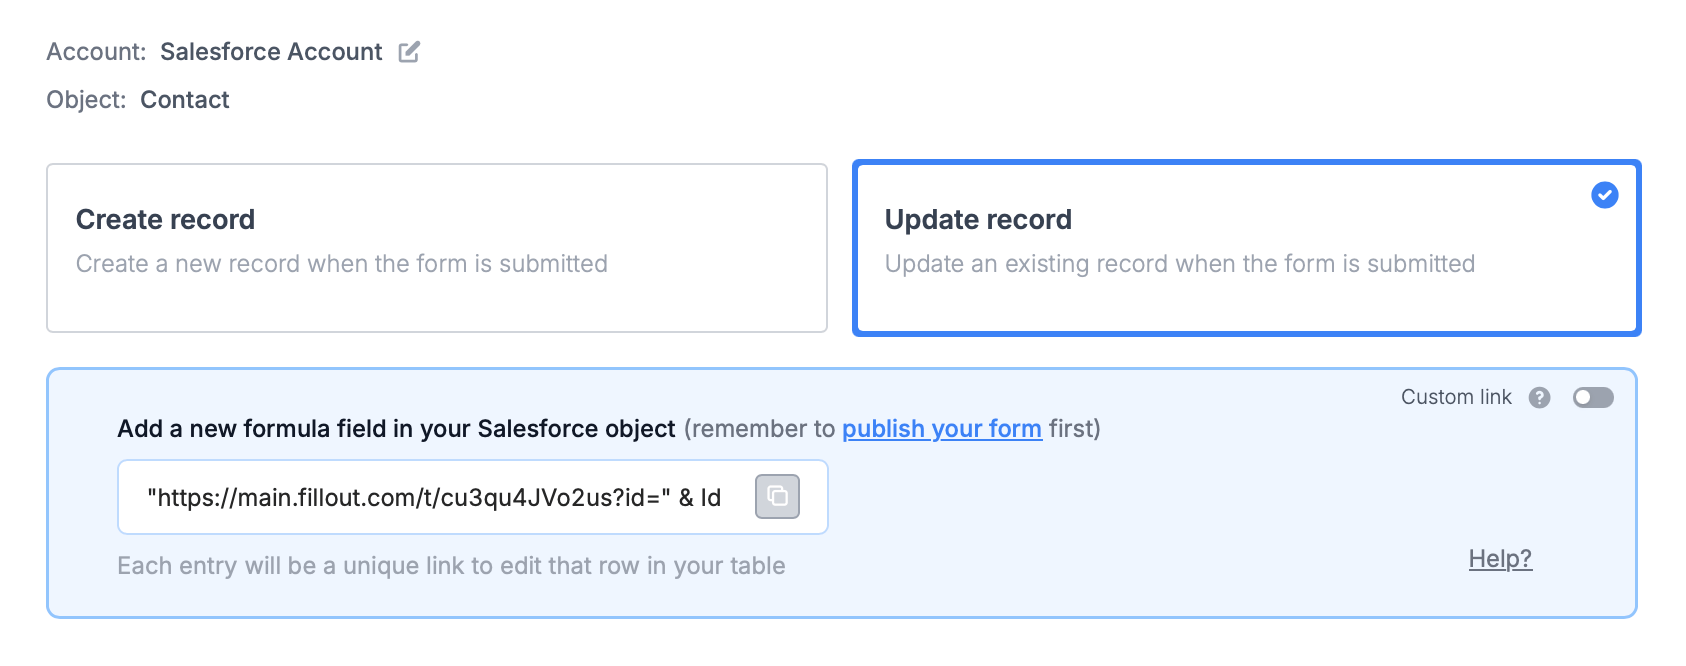 You'll now get a formula in Fillout that defines a **unique link** for every page in your table.
The Salesforce integration is available on the **Team** and **Enterprise** plans. Learn more about the [Team plan](/team-plan).
Add this new formula to your Salesforce object.
You'll now get a formula in Fillout that defines a **unique link** for every page in your table.
The Salesforce integration is available on the **Team** and **Enterprise** plans. Learn more about the [Team plan](/team-plan).
Add this new formula to your Salesforce object.
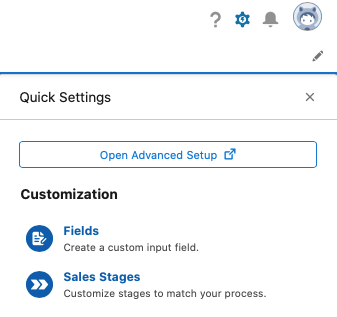
 Go to your Salesforce dashboard and click the `settings icon` on the upper right side followed by `Open Advanced Setup`.
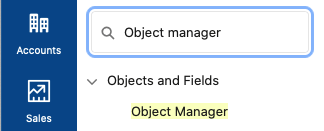
 Using **Quick Find** on the left-panel, search for `Object Manager`. Click your `object`. In our example, we used Contact.
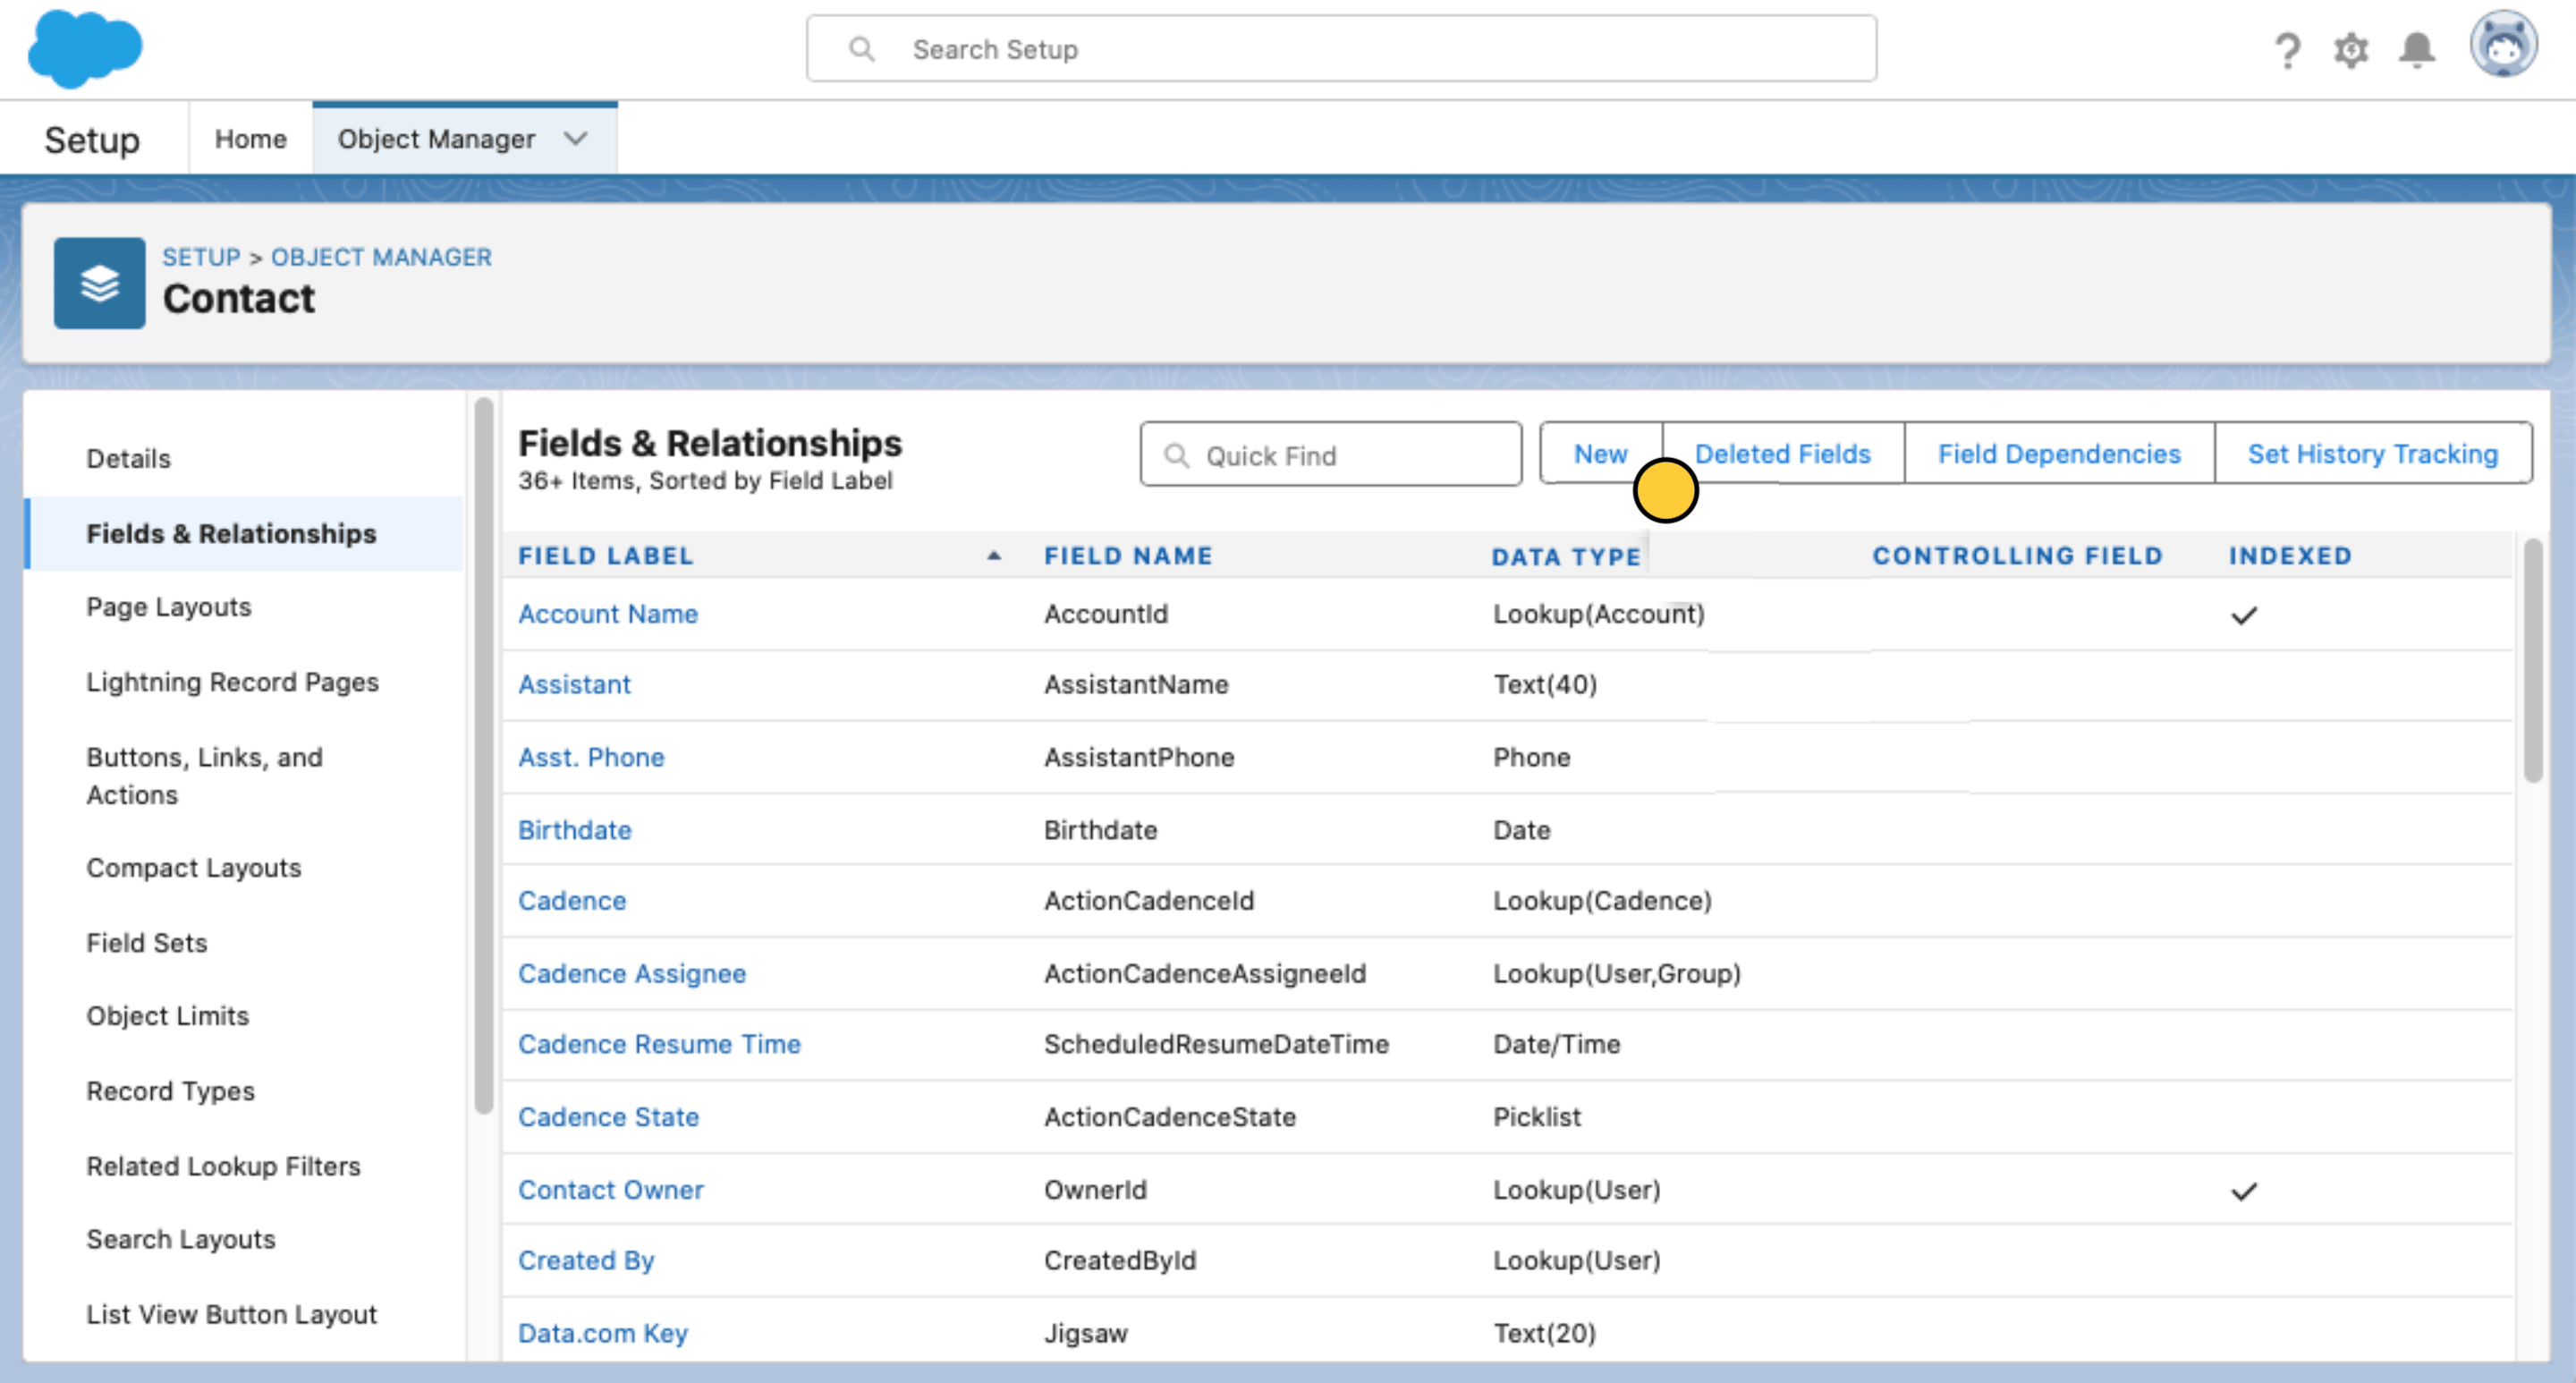
 Go to `Fields & Relationships` and create a `New` field.
 Select **Formula** from the list. Then, paste provied formula on Fillout into Salesforce.
Complete your setup by clicking `Update` and `Publish`.
To update a Salesforce record, click `Preview` and select a **Record to update** or click one of the unique links from your Salesforce object.
Select **Formula** from the list. Then, paste provied formula on Fillout into Salesforce.
Complete your setup by clicking `Update` and `Publish`.
To update a Salesforce record, click `Preview` and select a **Record to update** or click one of the unique links from your Salesforce object.
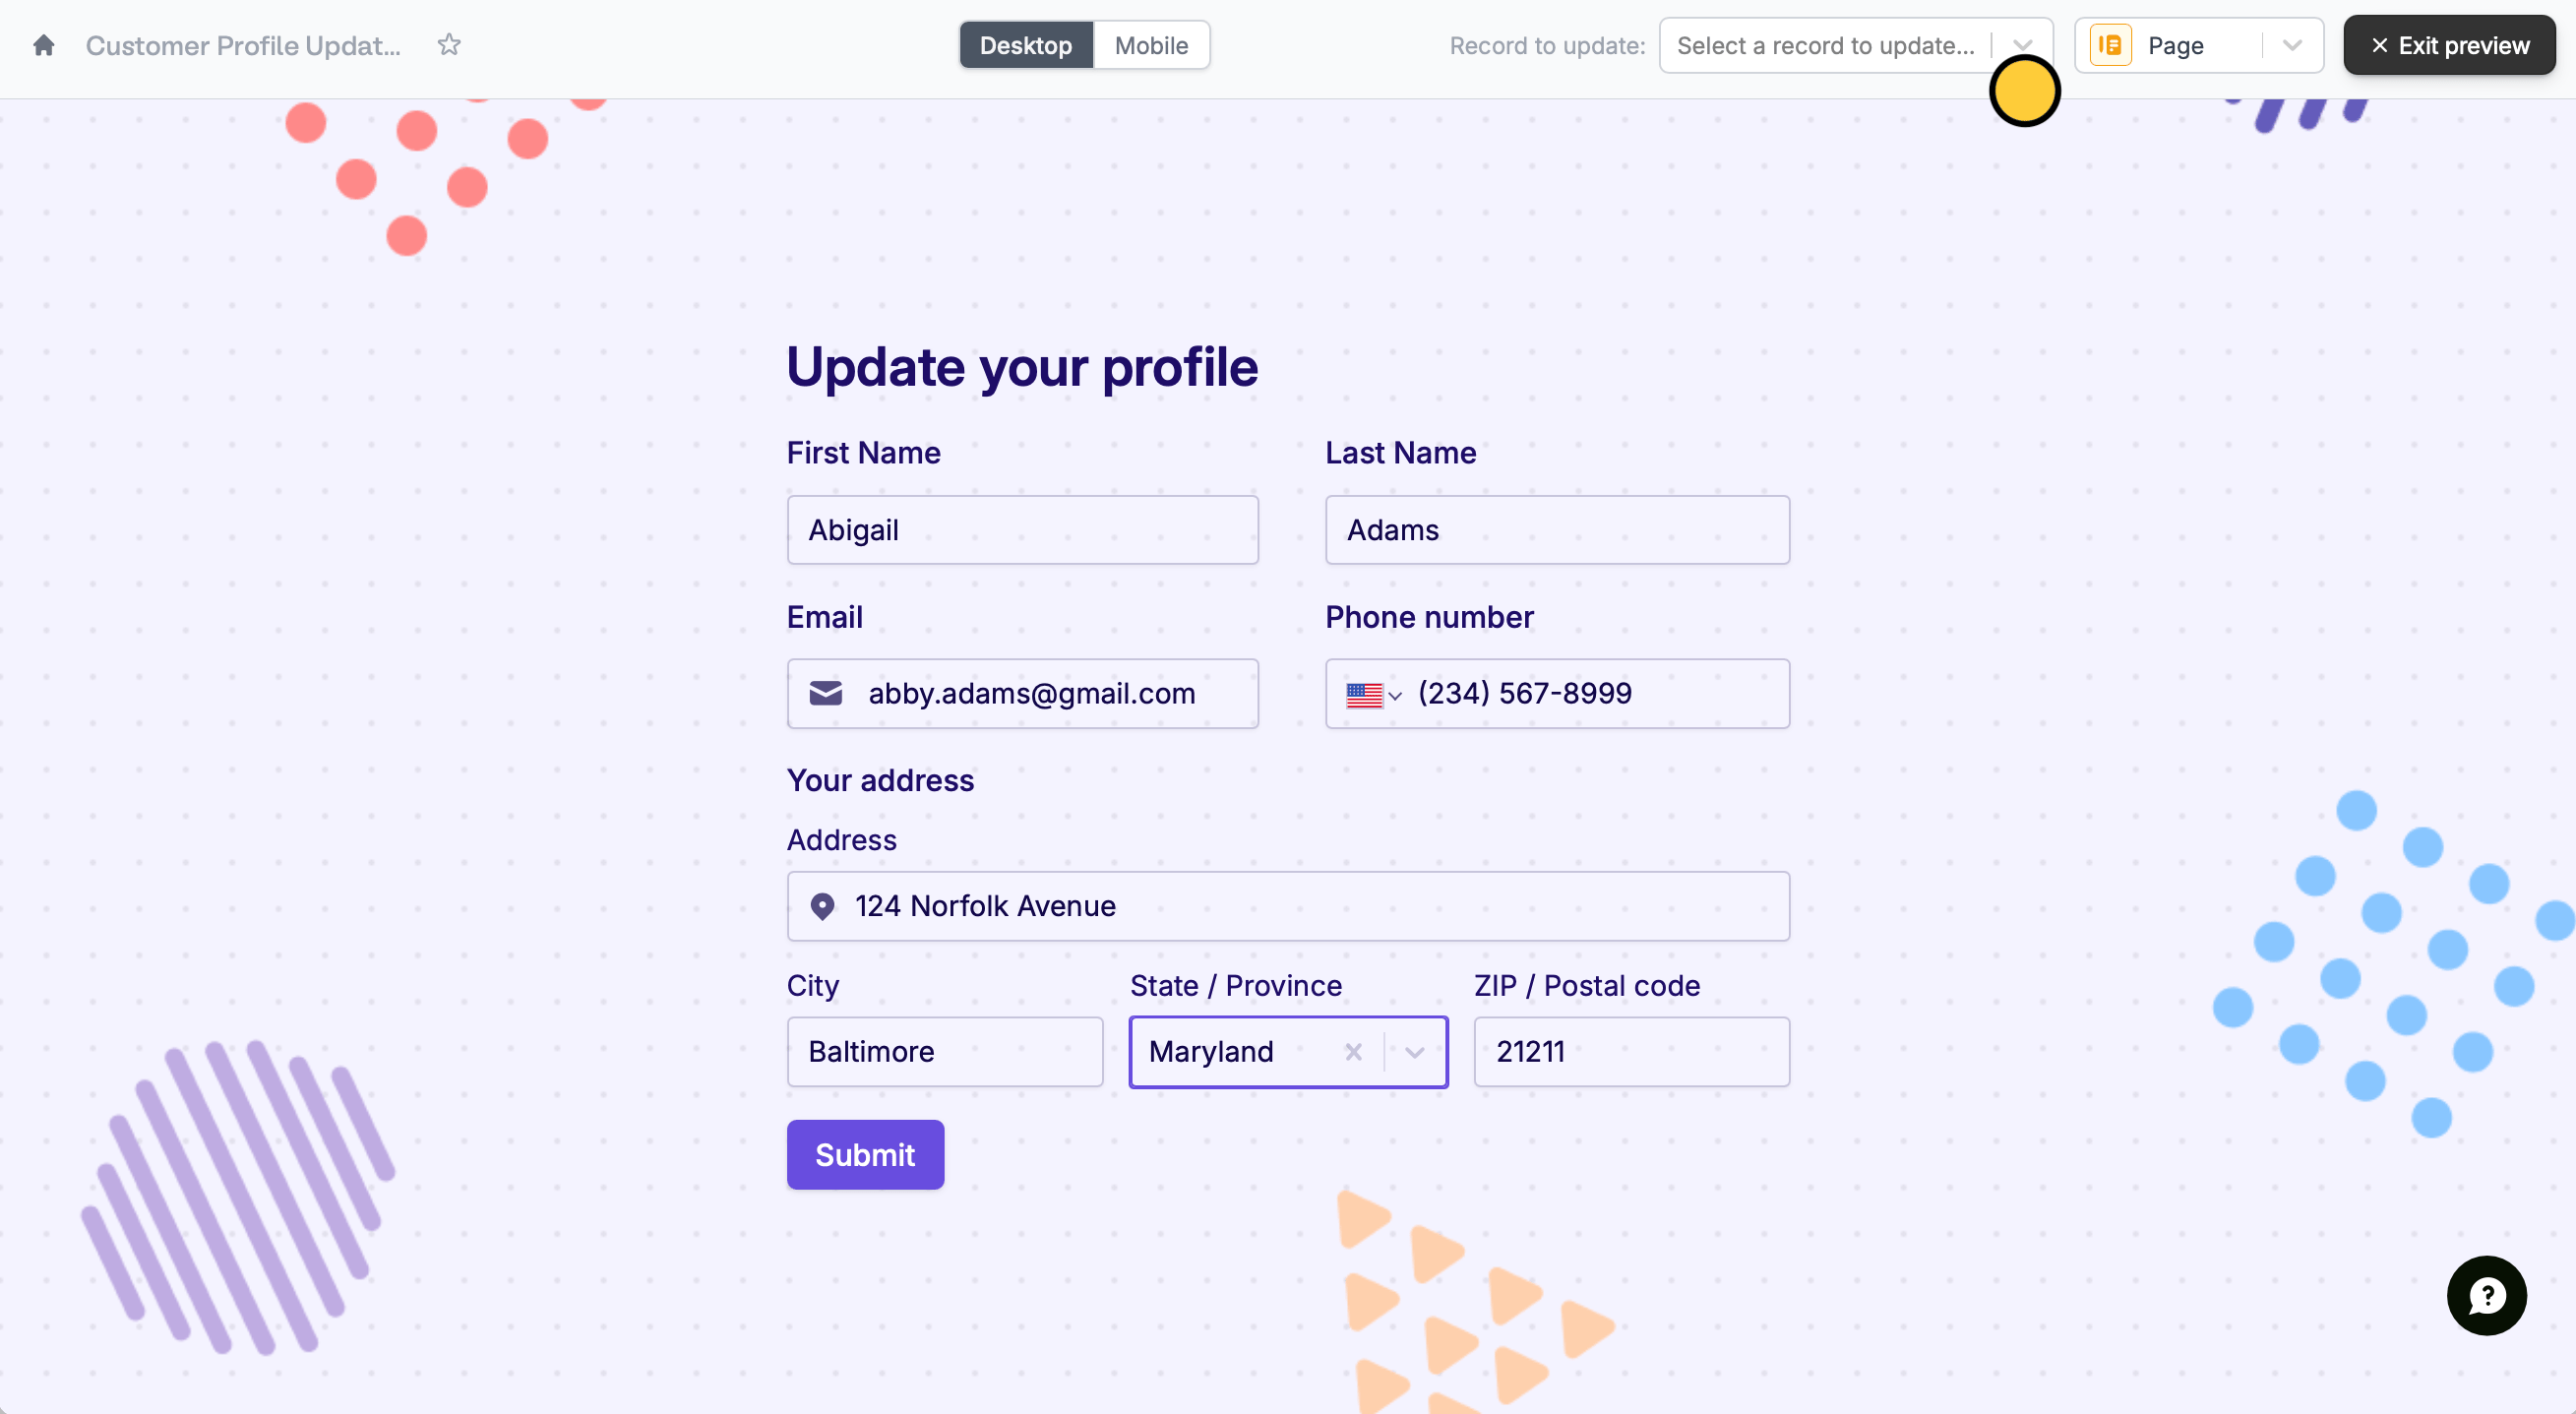 Your form will **automatically pre-fill** the data for the record it is updating.
If you don’t provide an **id** in the unique URL, the form will create a new record instead.
## Advanced next steps (optional)
Enhance your update forms by integrating them with platforms like Salesforce App Builder or Lightning Experience. Instead of the formula in Step 3, you might consider using a `Button` field.
This button can then be embedded within Salesforce interfaces for users to easily manage records.
## Specify a condition
You can run your integration only when a specific condition is met. Check out this [guide](/conditional-integration).
## Related articles
Add or update records with a form.
Perform an integration only when a certain condition is met.
Your form will **automatically pre-fill** the data for the record it is updating.
If you don’t provide an **id** in the unique URL, the form will create a new record instead.
## Advanced next steps (optional)
Enhance your update forms by integrating them with platforms like Salesforce App Builder or Lightning Experience. Instead of the formula in Step 3, you might consider using a `Button` field.
This button can then be embedded within Salesforce interfaces for users to easily manage records.
## Specify a condition
You can run your integration only when a specific condition is met. Check out this [guide](/conditional-integration).
## Related articles
Add or update records with a form.
Perform an integration only when a certain condition is met.